Drywall sanding is an essential step in completing any drywall project, and the right tool makes all the difference.
A Flex Drywall Sander is a must-have tool for any DIY enthusiast or professional who wants to make sanding easier and more efficient.
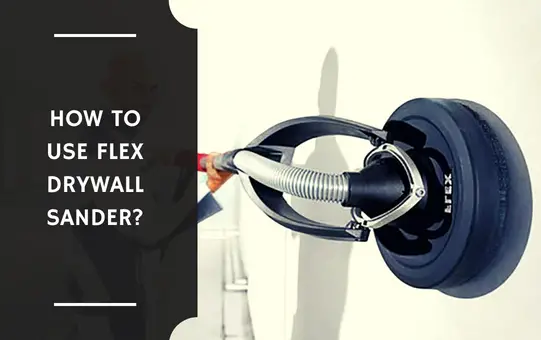
How to Use Flex Drywall Sander?
To use a flex drywall sander, first clean the surface you want to sand with a cloth or a Scotch-Brite Pad. Next, spread a thin layer of Flex Drywall Sander over the area you want to sand.
This article will guide you through the proper use of a Flex Drywall Sander, ensuring that you achieve a smooth and even finish every time.
See Also: How to Remove Popcorn Ceiling with Drywall Sander?
How to Use Flex Drywall Sander? – Guide
Using Flex drywall sander isn’t much difficult if you follow proper instructions. Here is a complete guide to properly using Flex drywall sander.
1. Understanding Your Flex Drywall Sander
A Flex Drywall Sander is a specialized sanding tool that features a flexible head, which makes it easier to sand drywall in tight spaces and hard-to-reach areas.
The flexible head can be adjusted to different angles, making it more versatile than traditional sanders.
Flex Drywall Sanders come in a variety of shapes, sizes, and power sources, including corded and cordless models.
2. Safety Considerations
Safety is always a top priority when using power tools, and Flex Drywall Sanders are no exception.
Before using your sander, familiarize yourself with the manufacturer’s safety guidelines and warnings.
Always wear protective gear, including eye protection and a dust mask, to protect yourself from flying debris and harmful dust particles.
3. Preparing Your Work Area
Before starting your sanding project, make sure your work area is clean and free of any obstructions.
Cover any furniture or flooring with a drop cloth to protect them from dust and debris. Sanding drywall generates a lot of dust, so make sure to ventilate the room or use a dust extractor.
4. Using Flex Drywall Sander
Step 1: Fill the Dust Bag Make sure the dust bag attached to the sander is empty and properly fastened before using.
Step 2: Turn On the Sander Turn on the sander and adjust the speed according to the type of drywall you are sanding.
For rough surfaces, use a slower speed, while for smoother surfaces, a higher speed is recommended.
Step 3: Begin Sanding Start sanding by gently pressing the sander against the wall and moving it in a circular motion.
Work in small sections, focusing on one area at a time. Keep the sander moving to avoid creating deep scratches in the drywall.
Step 4: Empty the Dust Bag As you sand, the dust bag will fill up. Empty the dust bag regularly to avoid clogging the sander’s filter and to keep your work area free of dust.
Step 5: Finish Sanding Once you have sanded all of the drywall, turn off the sander and inspect your work.
If you notice any rough spots or areas that need additional sanding, go back and sand them until you have achieved a smooth and even finish.
5. Maintaining Your Flex Drywall Sander
Proper maintenance of your Flex Drywall Sander will help extend its lifespan and ensure that it performs optimally for years to come.
After each use, clean the sander and remove any debris from the dust bag and filter. Store the sander in a dry and secure place when not in use.
Regularly inspect the sander for any signs of wear and tear and replace any worn or damaged parts.
Conclusion
Using a flex drywall sander can save you time and energy in tackling a drywall sanding job.
With the right equipment and a bit of know-how, you can make your drywall sanding job easier and faster than ever before.
So don’t delay, get your flex drywall sander today and get ready to transform your walls!
I hope this blog post is helpful for you in understanding how to use flex drywall sander.
Read Also: How to Use a Dustless Drywall Sander?